

Wet sanding is an indispensable finishing technique for woodworking, automotive paint correction, metal refinishing, and various DIY renovation projects. It delivers ultra-smooth, scratch-free surfaces that dry sanding simply cannot match, making it a go-to method for premium, long-lasting finishes. However, many hobbyists and even amateur craftsmen struggle with subpar results due to unrecognized operational errors. Minor missteps during wet sanding can lead to uneven textures, visible scratches, surface damage, or ruined coatings. Below, we break down the most prevalent wet sanding mistakes, explain their impacts, and share actionable professional tips to help you achieve flawless, studio-grade finishing results every time.
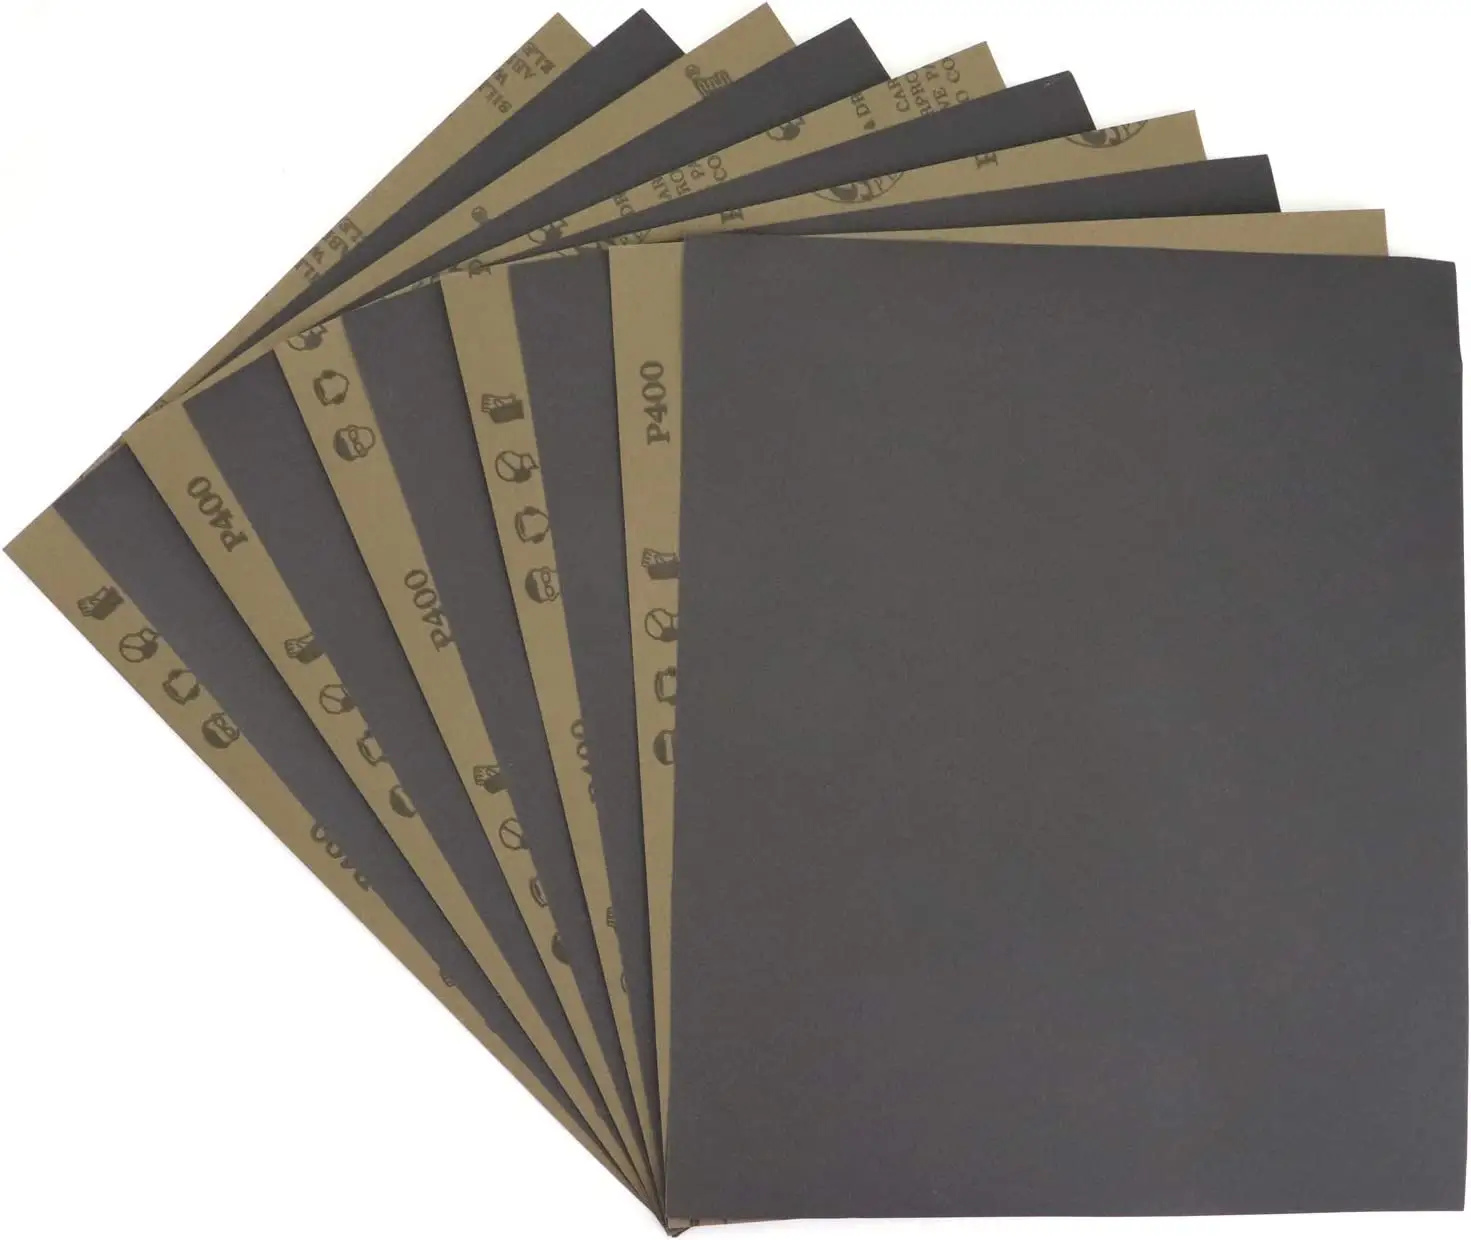
Different Types of Wet Sandpaper and Their Practical Applications
Wet sandpapers are categorized by abrasive materials and grit sizes, with each variant engineered for specific surface materials and finishing stages. Choosing the right sandpaper base is the first step to successful wet sanding:
- Silicon Carbide: Boasting sharp, uniform abrasive grains and excellent wear resistance, this type is the top choice for automotive wet sanding. It works perfectly for polishing car paint layers, clearing orange peel textures, and removing minor paint defects without causing deep scratches.
- Aluminum Oxide: A highly versatile dual-purpose sandpaper suitable for both wet and dry sanding. It features balanced abrasiveness and durability, ideal for general woodworking, metal surface smoothing, and hardware finishing tasks.
- Diamond: Equipped with ultra-hard diamond abrasives, it is reserved for heavy-duty polishing and shaping work. It easily handles rigid materials such as stone, concrete, and hardened tile for precise smoothing and leveling.
- Ceramic: Renowned for its exceptional longevity and strong cutting power. It excels at sanding tough materials including thick metal plates, fiberglass, and composite surfaces, maintaining stable performance for long working hours.
6 Most Common Wet Sanding Mistakes That Ruin Finishes
Wet sanding seems straightforward, yet subtle operational errors are the main cause of unsatisfactory finishing effects. Even experienced enthusiasts often fall prey to these avoidable pitfalls:
Mistake 1: Inadequate Sandpaper Soaking
A majority of beginners skip sufficient soaking time or only dampen the sandpaper superficially before use. Dry or incompletely saturated sandpaper retains stiff abrasive grains and a rigid paper base. This prevents the sandpaper from fitting closely to curved or flat surfaces, resulting in jerky sanding strokes. The end result includes uneven polishing marks, localized over-sanding, and drastically reduced sanding efficiency, wasting both time and materials.
Mistake 2: Using Mismatched Grit Sizes
Grit size directly determines the cutting force and finishing precision of wet sanding. Coarse grits are designed for rapid material removal and defect correction, while fine grits focus on fine polishing and texture refinement. Using overly coarse grit for final finishing leaves deep residual scratches, while applying ultra-fine grit for repairing heavy flaws leads to slow progress and ineffective surface leveling. Mismatched grit selection is one of the most frequent reasons for failed sanding projects.
Mistake 3: Excessive Sanding Pressure
A common misconception is that increased pressure accelerates sanding and creates smoother surfaces. In reality, forced heavy pressure causes severe problems: it wears down abrasive grains rapidly, shortens sandpaper service life, and creates uneven indentations and deep pressure scratches on the target surface. For automotive paint and soft wood surfaces, excessive pressure may even grind off surface coatings and damage the base material permanently.
Mistake 4: Skipping Pre-Sanding Surface Preparation
Many users start sanding directly on uncleaned surfaces covered with dust, grease, wax residues, and fine debris. These contaminants act as hard abrasives during wet sanding, dragging across the surface and creating random, hard-to-remove micro-scratches. Meanwhile, residual dirt can clog sandpaper gaps quickly, further weakening its polishing effect and resulting in inconsistent finishing quality.
Mistake 5: Irregular and Inconsistent Sanding Strokes
Random, chaotic stroke directions, uneven force distribution, and erratic sanding speeds are typical technical flaws. Disordered sanding patterns leave visible wave marks, patchy textures, and unsanded blind spots on the surface. This inconsistency makes it impossible to achieve a uniform matte or glossy finish, failing to meet professional finishing standards.
Mistake 6: Disregarding Gradual Grit Progression
To save time, many people skip intermediate grits and jump directly from coarse grit to ultra-fine grit. Each grit size serves a unique transitional purpose in the sanding process: coarse grits eliminate major flaws, medium grits smooth residual scratches, and fine grits refine surface texture. Skipping any step leaves deep underlying scratches that fine grits cannot repair, resulting in a flawed finish that lacks smoothness and uniformity.

Professional Tips to Avoid Wet Sanding Errors & Get Perfect Results
All common wet sanding mistakes are completely avoidable with standardized operations and correct techniques. The following six practical tips will help you optimize your workflow and deliver professional-level finishes:
Tip 1: Soak Sandpaper Fully According to Grit Specifications
Different grit sandpapers require targeted soaking durations to achieve optimal flexibility and abrasion performance. Fine and ultra-fine grit sandpapers (800–2000 grit) need 10–15 minutes of full soaking, while coarse and medium grit options require up to 30 minutes. Start sanding only when the sandpaper is completely soft, free of dry spots and stiff edges. Adequate soaking ensures smooth sliding, uniform abrasion, and effectively prevents partial over-sanding.
Tip 2: Select Grit Size Based on Surface Condition & Goals
Always match the grit size to your project’s specific needs. Use coarse grit (400–600 grit) for removing heavy scratches, paint drips, and surface bumps; adopt medium grit (800–1000 grit) for preliminary smoothing and transitional finishing; apply fine grit (1200–2000+ grit) for final polishing and gloss improvement. For unfamiliar materials, test on an inconspicuous small area first to confirm the grit’s effectiveness before full-scale construction.
Tip 3: Adopt Light, Consistent Pressure
High-quality wet sanding relies on uniform light pressure rather than brute force. Let the sandpaper’s own weight and moderate, steady hand force complete the polishing work. Maintain consistent pressure throughout each stroke to avoid local over-grinding. Light pressure preserves sandpaper abrasiveness, protects the surface coating, and delivers an evenly smooth texture across the entire working area.
Tip 4: Conduct Comprehensive Surface Pre-Cleaning
Before initiating wet sanding, thoroughly clean the target surface with clean water, professional cleaning agents, or degreasing tools to remove all dust, grease, wax, and residual debris. Wipe the surface dry and inspect for stubborn stains or protruding particles that need pre-treatment. A clean working foundation eliminates secondary scratch risks and ensures stable sanding quality.
Tip 5: Maintain Standardized, Consistent Sanding Motions
Develop a rhythmic, unified sanding technique: adopt parallel linear or cross sanding strokes, avoid random circular or irregular movements, and keep uniform moving speed and stroke length. For large or complex curved surfaces, use auxiliary sanding pads to maintain flatness and consistency. Take short breaks regularly to avoid hand fatigue, which easily causes uneven force and distorted strokes.
Tip 6: Follow Step-by-Step Grit Progression Rules
Strictly follow the gradual upgrading sequence from coarse to medium to fine grits, without skipping any necessary steps. After finishing sanding with each grit, clean the surface thoroughly to remove abrasive residues and inspect the overall texture. Only proceed to the next finer grit when all scratches and uneven marks from the previous stage are completely eliminated. This layered refinement method guarantees a flawless, mirror-smooth final finish.
Final Thoughts
Wet sanding is a detail-oriented professional technique, where standardized operations matter far more than brute force or speed. Most defective finishes stem from trivial operational mistakes: insufficient soaking, mismatched grits, excessive pressure, inadequate preparation, irregular strokes, and skipped grit progression. By mastering the above error-avoidance strategies and adhering to standardized workflows, both DIY enthusiasts and professional craftsmen can steadily improve finishing quality. With consistent practice and attention to detail, you can achieve smooth, scratch-free, high-gloss results in woodworking, automotive refinishing, and various surface polishing projects.